From image to pattern: building a cross-stitch generator as a CLI tool
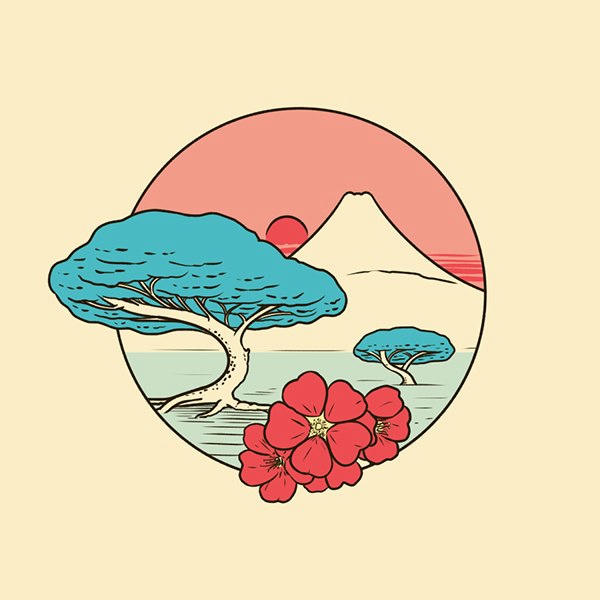
🟠 In this article, I describe a small but complete system that converts raster images into cross-stitch / needlepoint patterns.
The project focuses on turning an image into a structured, printable, and editable SVG pattern, with full control over size and color palette.
It sits at the intersection of image processing, CLI tooling, and practical craft-oriented output.
From pixels to stitches: defining the problem
At a high level, the task sounds simple:
“Convert an image into a cross-stitch pattern.”
In practice, this involves several non-trivial constraints:
- the output must be grid-aligned;
- colors must be limited and consistent;
- the result should be editable, not just rendered;
- the format must survive scaling and printing.
This project treats a pattern not as a bitmap, but as a structured representation of stitches.
Image preprocessing and resizing
The pipeline starts with loading a raster image (JPG / PNG) and resizing it to a target grid defined in stitches, not pixels.
Width and height are explicit inputs, which allows the user to reason in terms of the final physical pattern rather than screen resolution.
This step establishes the spatial structure that everything else depends on.
Color quantization and palette control
A key requirement is controlling the number of colors in the final pattern.
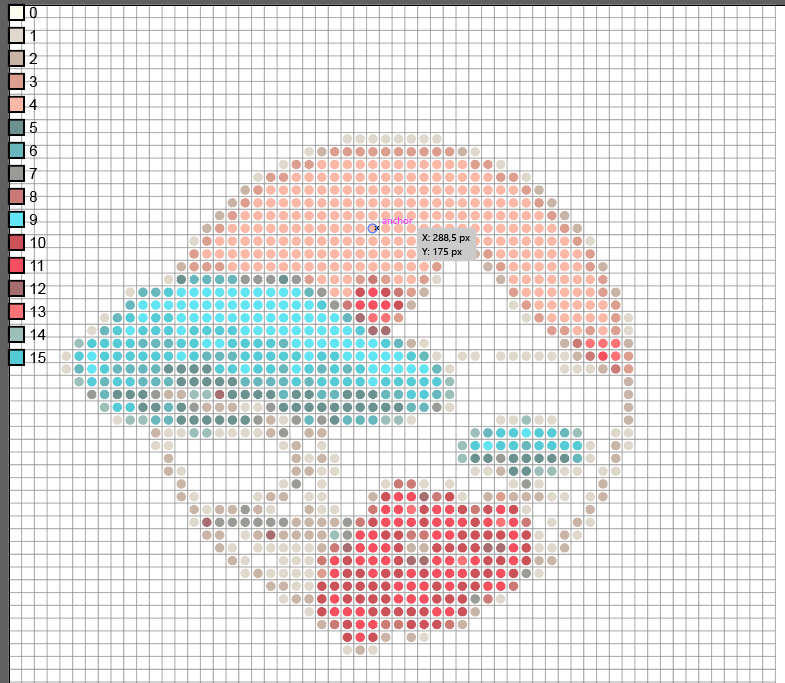
The tool performs color quantization to reduce the image to a fixed-size palette, making the result suitable for real-world embroidery workflows.
By limiting colors explicitly, the generated pattern becomes:
- easier to stitch,
- easier to interpret,
- closer to how commercial needlepoint charts are designed.
Pattern generation as vector graphics
Instead of producing another raster image, the project outputs SVG.
Each stitch is represented as a vector element, which means:
- no loss of quality when scaling,
- easy editing in tools like Adobe Illustrator,
- clean export to PDF or print-ready formats.
This choice deliberately prioritizes editability and longevity over quick visual output.
CLI-first design
The tool is implemented as a command-line application.
Example usage: --- bash cargo run -p cli -- .\images\original_image.img -w 60 --height 75 --colors 16 -m needlepoint -o out.svg
This makes the system:
- scriptable,
- automatable,
- easy to integrate into larger pipelines.
The CLI design also keeps the core logic independent from any UI decisions.
Why Rust
Rust was chosen for this project because it encourages:
- explicit data modeling,
- predictable performance,
- strong separation between processing stages.
For a tool that transforms data through several well-defined steps, Rust’s type system helps keep the pipeline correct and maintainable.
From hobby tool to reusable system
Although the output targets a creative domain (needlepoint and cross-stitch), the project itself is a general example of:
- deterministic data transformation,
- image-to-structure conversion,
- CLI-driven graphics generation.
The same architectural ideas apply to many other domains where raw data must be turned into precise, human-usable artifacts.